
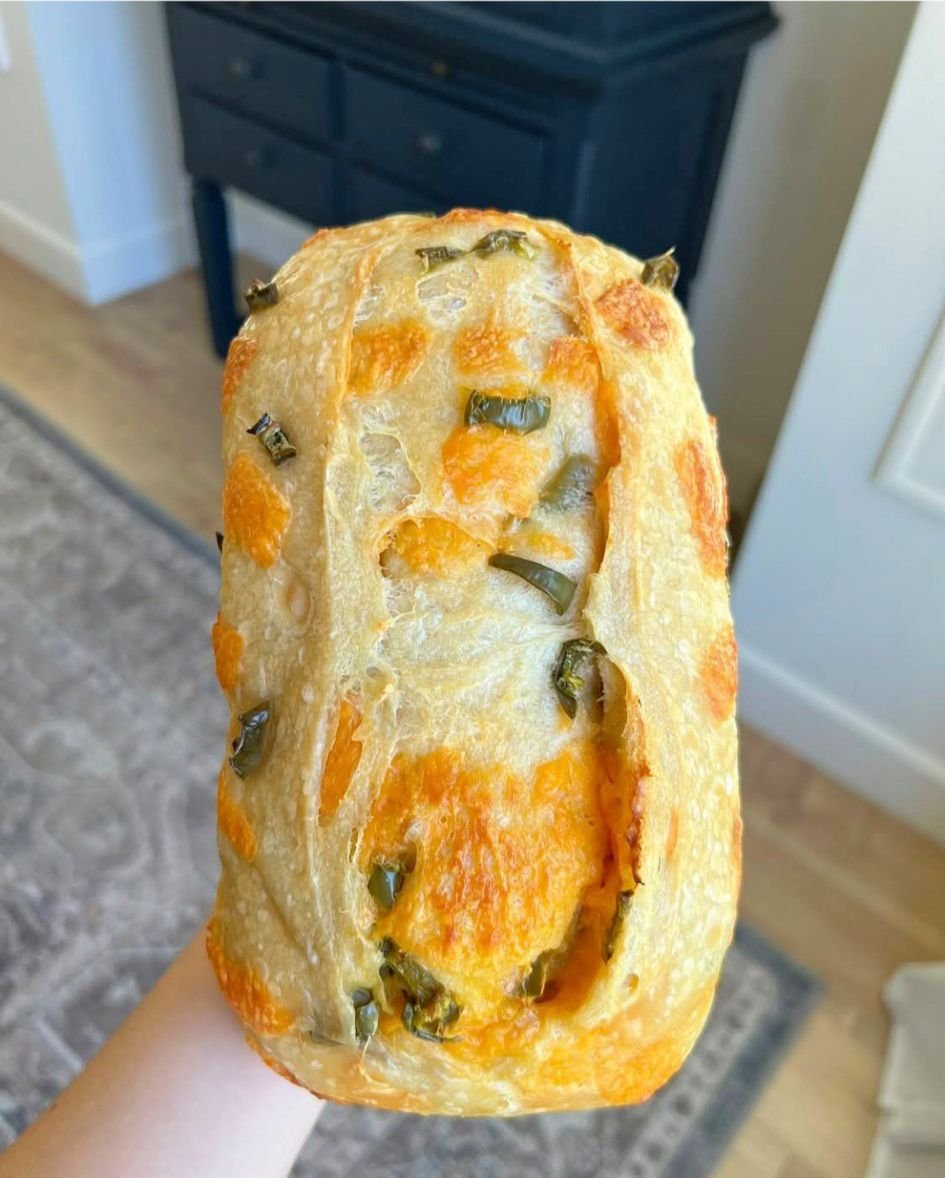
This homemade sourdough bread makes 2 loaves with a light, soft crumb and a crisp golden crust. The small amount of olive oil and egg gives the bread a tender texture, but both can be skipped if you prefer a firmer, more classic sourdough loaf.
The dough is made with an active sourdough starter and about 75% hydration, giving you bread that is airy, moist, and full of sourdough flavor.
Ingredients
- 300g active sourdough starter
- 530g water
- 20g olive oil
- 1 large egg
- 820g bread flour or all-purpose flour
- 22g salt
- 10g extra warm water for adding the salt
For a Firmer Loaf
If you want a slightly firmer and more traditional sourdough texture, leave out the egg and olive oil. When doing this, increase the main water amount by about 30g.
Step 1: Mix the Dough
Add the sourdough starter and water to a large mixing bowl. Stir until the starter is mostly dissolved.
Add the flour and mix until no dry flour remains. The dough will look rough and sticky at this stage.
Cover the bowl and let the dough rest for about 30 minutes. This short rest gives the flour time to absorb the water and makes the dough easier to handle.
Step 2: Add the Egg and Olive Oil
After the first rest, add the egg and olive oil.
Work them gently into the dough using your hands. Keep folding and squeezing the dough until everything is well combined.
The dough may feel sticky, but that is normal for a high-hydration sourdough recipe.
Step 3: Add the Salt
After another 30 minutes, sprinkle the 22g salt over the dough.
Pour the extra 10g warm water over the salt. Gently press and fold the dough to help distribute the salt throughout.
Let the dough rest for another 30 minutes before starting the stretch-and-fold process.
Step 4: Stretch and Fold
Now begin your stretch-and-folds.
With slightly wet hands, grab one side of the dough, stretch it upward, and fold it over the center. Turn the bowl and repeat on all four sides.
Complete a set of stretch-and-folds every 30 minutes for the first few hours.
As the dough develops strength, it should become smoother, stronger, and easier to handle.
If the dough already feels strong and holds its shape well, you can reduce the number of folds.
Step 5: Bulk Fermentation
Once your stretch-and-folds are finished, cover the bowl and let the dough continue fermenting.
The exact time will depend on your starter, flour, and room temperature. Instead of watching the clock alone, look for signs that the dough is ready.
The dough should become:
- Puffy and airy
- Smoother on top
- Slightly jiggly when the bowl is moved
- Noticeably larger in volume
- Filled with small bubbles
Avoid letting it rise too far, as over-fermented dough can become difficult to shape.
Step 6: Divide the Dough
Lightly flour your work surface and turn the dough out carefully.
Divide it into 2 equal pieces.
Try not to press all the air out of the dough. Handle each piece gently so you keep as much of the fermentation bubbles as possible.
Shape each piece into a loose round and let them rest for about 15–20 minutes.
Step 7: Final Shaping
Shape each piece into a tight loaf.
Gently stretch the dough into a rough rectangle. Fold the sides toward the center, then roll the dough into a loaf shape.
Pinch the seam closed and place each loaf into a prepared loaf pan.
Give the dough enough room to rise without pressing it down.
Step 8: Final Proof
Cover the loaf pans and let the dough rise again.
The final proof may take anywhere from 1 to 3 hours, depending on the temperature and strength of your starter.
The dough should look noticeably puffy and should slowly spring back when gently pressed with a fingertip.
Step 9: Create a Mini Dutch Oven
For a beautiful crust and a well-risen loaf, bake the bread in loaf pans with another pan placed over the top.
This creates a small enclosed baking space that helps trap steam around the bread during the first part of baking.
The steam helps the crust stay flexible while the bread expands in the oven.
Step 10: Bake
Preheat your oven to 450°F (230°C).
Place the covered loaf pans into the hot oven and bake for 25 minutes.
After 25 minutes, carefully remove the top pan.
Reduce the oven temperature to 400°F (200°C) and continue baking for another 20 minutes.
The loaves should be deeply golden on top and should sound hollow when tapped.
If you have an instant-read thermometer, the center of the bread should generally be around 200–210°F (93–99°C) when fully baked.
Step 11: Cool Completely
Remove the bread from the pans and place the loaves on a wire rack.
Let them cool completely before slicing.
It can be tempting to cut into warm sourdough, but allowing it to cool helps the inside finish setting. Cutting too early can make the crumb seem gummy.
Tips for Great Sourdough Bread
Use an active starter: Your starter should be bubbly, active, and strong enough to rise the dough well.
Don’t add too much flour: A 75% hydration dough will feel sticky. Adding lots of extra flour can make the finished bread heavy.
Use wet hands: Wetting your hands during stretch-and-folds makes the dough much easier to handle.
Watch the dough, not just the clock: Fermentation changes with room temperature. A warm kitchen will speed things up, while a cool kitchen will slow the dough down.
Don’t skip the rest periods: The resting time between mixing, salt addition, and folds helps the dough develop strength naturally.
Create steam while baking: Covering the loaf pans during the first part of baking gives the bread a moist baking environment and helps produce a better crust.
How to Store Sourdough Bread
Once completely cool, keep the bread in a bread bag or airtight container at room temperature for up to 3 days.
For longer storage, slice the loaves and freeze them in a freezer-safe bag. Individual slices can be taken out as needed and toasted straight from frozen.
Serving Ideas
This sourdough bread is great for almost anything. Serve it warm with butter, use it for sandwiches, or toast it with eggs for breakfast.
It also works well with:
- Avocado and eggs
- Cream cheese and fruit
- Turkey and cheese
- Peanut butter and banana
- Soup or chili
- Garlic butter
- Olive oil and herbs
Final Notes
This recipe is a great choice if you want two homemade sourdough loaves with a soft inside and crisp, golden crust. The egg and olive oil add extra tenderness, while the high hydration helps create a light texture.
For a more rustic and firm loaf, simply skip the egg and olive oil and add about 30g more water. The covered-pan baking method is especially useful because it creates steam without needing a traditional Dutch oven.
With a healthy starter, proper fermentation, gentle handling, and a hot oven, you can make bakery-style sourdough bread right at home.
